How to Configure Mozilla Thunderbird for WCC Email
If you are modifying an existing WCC Office365 email account already set up in Thunderbird but not able to login, select Modify a WCC Office365 Email Account in Thunderbird.
If you have installed Thunderbird and are setting up WCC Office365 email in Thunderbird for the first time, select Setup a WCC Office365 Email Account in Thunderbird.
NOTE: Thunderbird will need to be installed and updated to at least version 77.0. b1 or higher in order to work with Office 365. This documentation was created using Thunderbird version 102.7.2. To download Thunderbird, go to https://www.thunderbird.net/en-US/. If Thunderbird configurations are not working after following this document, an alternative is to login to Outlook Web Mail from https://www.wccnet.edu/mywcc/faculty-staff/ and click the icon for Faculty/Staff Email.
- From the Windows Start menu, open Thunderbird.
- Click the Thunderbird Menu icon (three horizontal bars) at the upper-right of the
Thunderbird pane.

- From the pop-up menu, click Account Settings.
- From the Account Settings navigation pane on the left, click Server Settings.
- Under Security Settings, click the drop-down for Authentication method and change it to OAuth2:

- Verify the other settings: Server Name for the IMAP Mail Server is outlook.office365.com, Port is 993, your email address is the User Name, and Connection security is SSL/TLS.
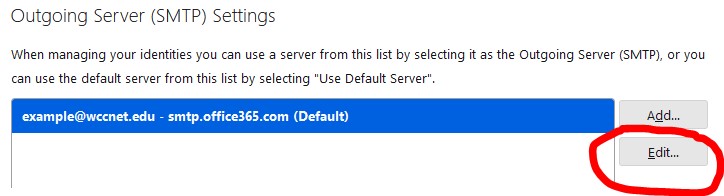
- From this same Account Settings navigation pane on the left, click Outgoing Server (SMTP).
- Within the large white box, click your email address or existing Office365 server
entry, and then click the Edit button.
- Click the drop-down for Authentication method and change it to OAuth2.
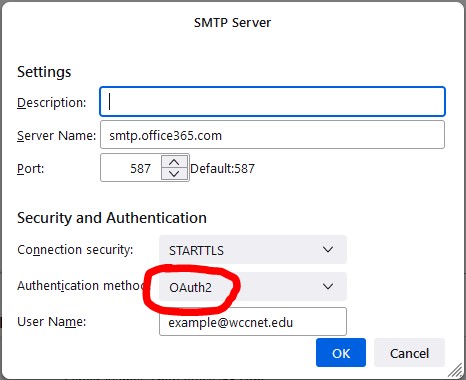
- Verify the other settings:
Server Name for the SMTP Server is smtp.office365.com
Port is 587
Connection security is STARTTLS
your email address is the User Name. - Click the OK button.
- Close this window by clicking the “X” on the Account Settings tab.
Thunderbird is now reconfigured for use with your WCC Office365 email account using the latest and improved authentication method.
- From the Windows Start menu, open Thunderbird.
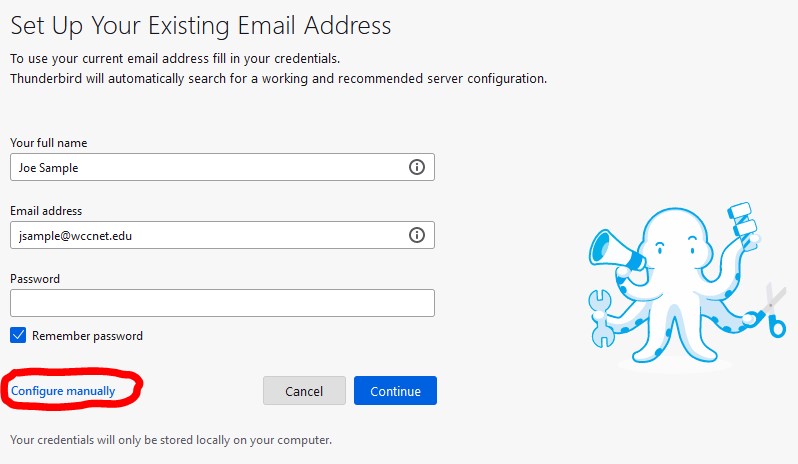
- Enter your name and email address but NOT your password, and then click the link to
Configure manually.
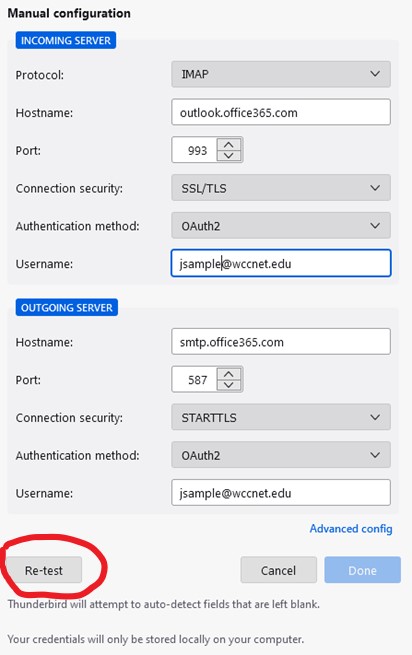
- Enter the following settings for the Incoming Server:
- Hostname: outlook.office365.com
- Port: 993
- Connections Security: SSL/TLS
- Authentication Method: OAuth2
- User Name: your existing WCC email address
- Enter the following settings for the Outgoing Server:
- Hostname: smtp.office365.com
- Port: 587
- Connection Security: STARTTLS
- Authentication Method: OAuth2
- User Name: your existing WCC email address
- Compare your settings with the illustration below and then Click the Re-Test button to verify communication with the WCC email server.
- When you receive the confirmation message in a green box,Click the Done button.

- Not working? Review your entry for your email address. Review the Incoming and Outgoing Server settings from the previous step. Click the Done button.
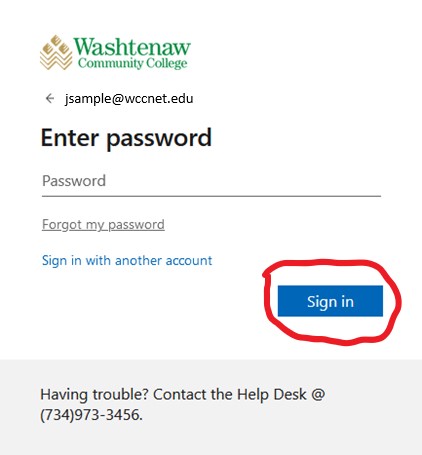
- You should be prompted for your WCC mailbox password. Enter your email password and
click the Sign in button.
- You should receive an acknowledgement stating “Account successfully created.” Click the Finish button.
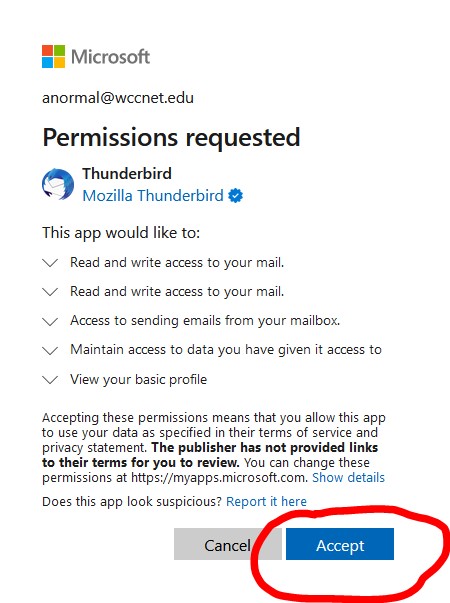
- If this is your first attempt setting up your WCC mailbox in Thunderbird, a Microsoft
permissions request window will appear. Please read it. Click the Accept button to proceed.
Thunderbird is now configured for use with your Office 365 email account.
Important: All folders in your mailbox will not automatically appear in Thunderbird. See the section that follows for instructions to subscribe to other folders.
You may choose which email folders appear in your Thunderbird mailbox. By default, only the Inbox, Trash, and Outbox folders immediately appear.
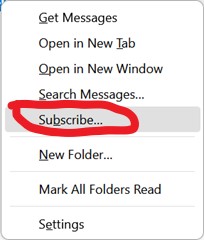
- Right-click on your email address shown in the left window pane under the heading Folders.
- From the pop-up menu, click Subscribe.
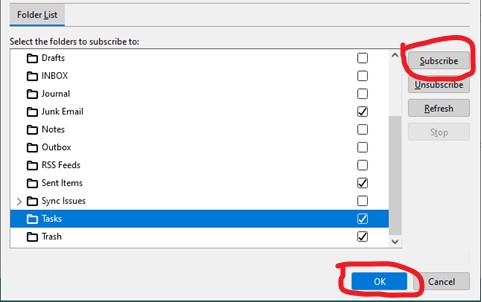
- A list will appear showing all folders in your WCC mailbox. Click the box to the right
of each folder that you would like to see in Thunderbird. When your desired folders
show check marks in their white boxes, click the Subscribe button, and then click the OK button.
Note
- You will need to expand any folders having an arrow in order to be able to view their subfolders.
- The new folders will not automatically populate. Click a folder to view the contents, Thunderbird will sync its entries from your WCC mailbox. To Unsubscribe, repeat the folder selection process and then click the Unsubscribe and OK buttons.